
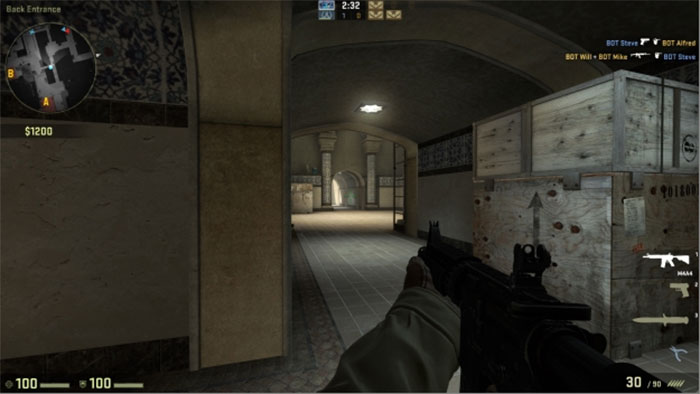
In this How To post, we’re going to look at the technique known as peeking. We’ll discuss how to peek, the right and wrong ways of peeking, when to peek, and when to just fall back and retreat. We’re going to demonstrate this in the hallway of de_dust from the Counter-Terrorist perspective.
When peeking, we are essentially trying to detect our enemy while minimalizing our own exposure to them. The first thing we’ll demonstrate is over extending a peek. When you move too far for a peek, you unnecessarily expose yourself to potentially multiple enemies. Below is an example of over extending a peek.
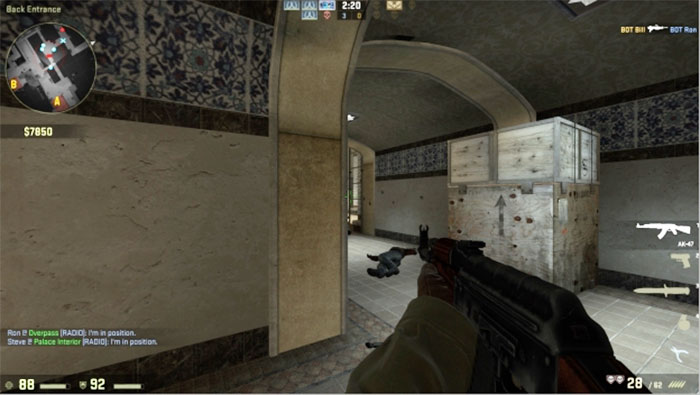
Ideally we want to peek slowly, and instead of being up tight on the corner, we’re going to step back so that our peek is tighter. This will allow you to check each potential spot of individual enemy combatants instead of multiple enemies. Below is an example of a proper peeking technique.
We start out by giving ourselves a sliver of vision down the
tunnel, while checking the corner of the box as well. That’s where we dispatch
our first enemy.
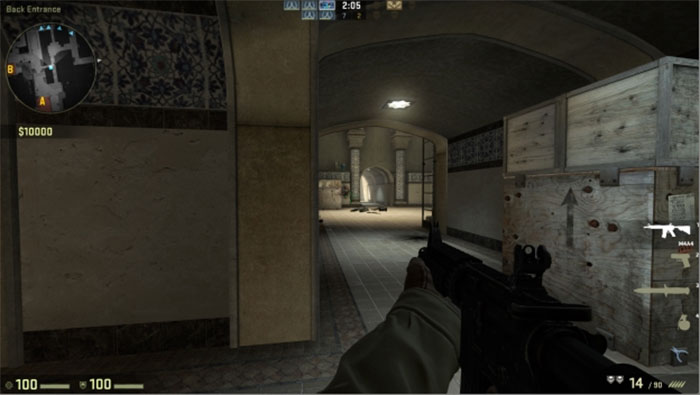
After a few enemy grenades are tosses, we fall back behind
cover for a few seconds, before attempting a second peek. At first glance,
there’s nothing. As we make a wider peek though, we encounter two more enemies.
Continuing down the hallway, we throw a flashbang into the tunnel entrance on the Terrorist side, and once again setup and peek to catch our 4th enemy combatant.
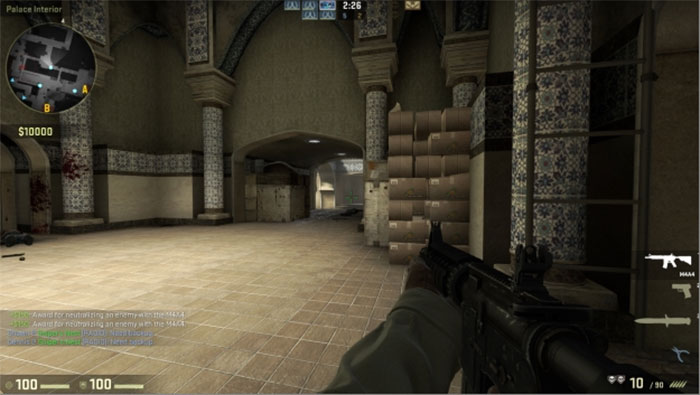
Here’s one more look at peeking on the map de_inferno. Instead of pushing the archway here, I’ve decided to stand back in a peeking position, picking off the enemy team as they funneled up the archway.
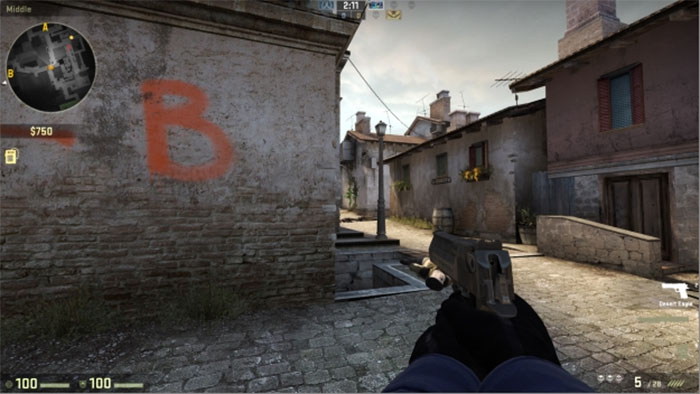
Determining when to give up your peek position is critical. In our first example on de_dust, I’m playing the position of Bombsite A with backup from my team, so it’s not critical to hold it, I could fall back. In example B though, I’m the only one holding down bombsite position B, so it’s imperative that I fight extremely hard to maintain this, only falling back if I
absolutely have to.
Comment below and don’t forget to tweet and share this post if you feel it was helpful. Happy Gaming!